Gun safes can be a dark and difficult to navigate without a good lighting system in place. This LED gun safe light kit is exactly what you need to brighten the dark space and shed light on your gun collection. Now you can pick between these safe lights being Adhesive or Hook Fabric Backed.
Gun Safe Light Kit Includes:
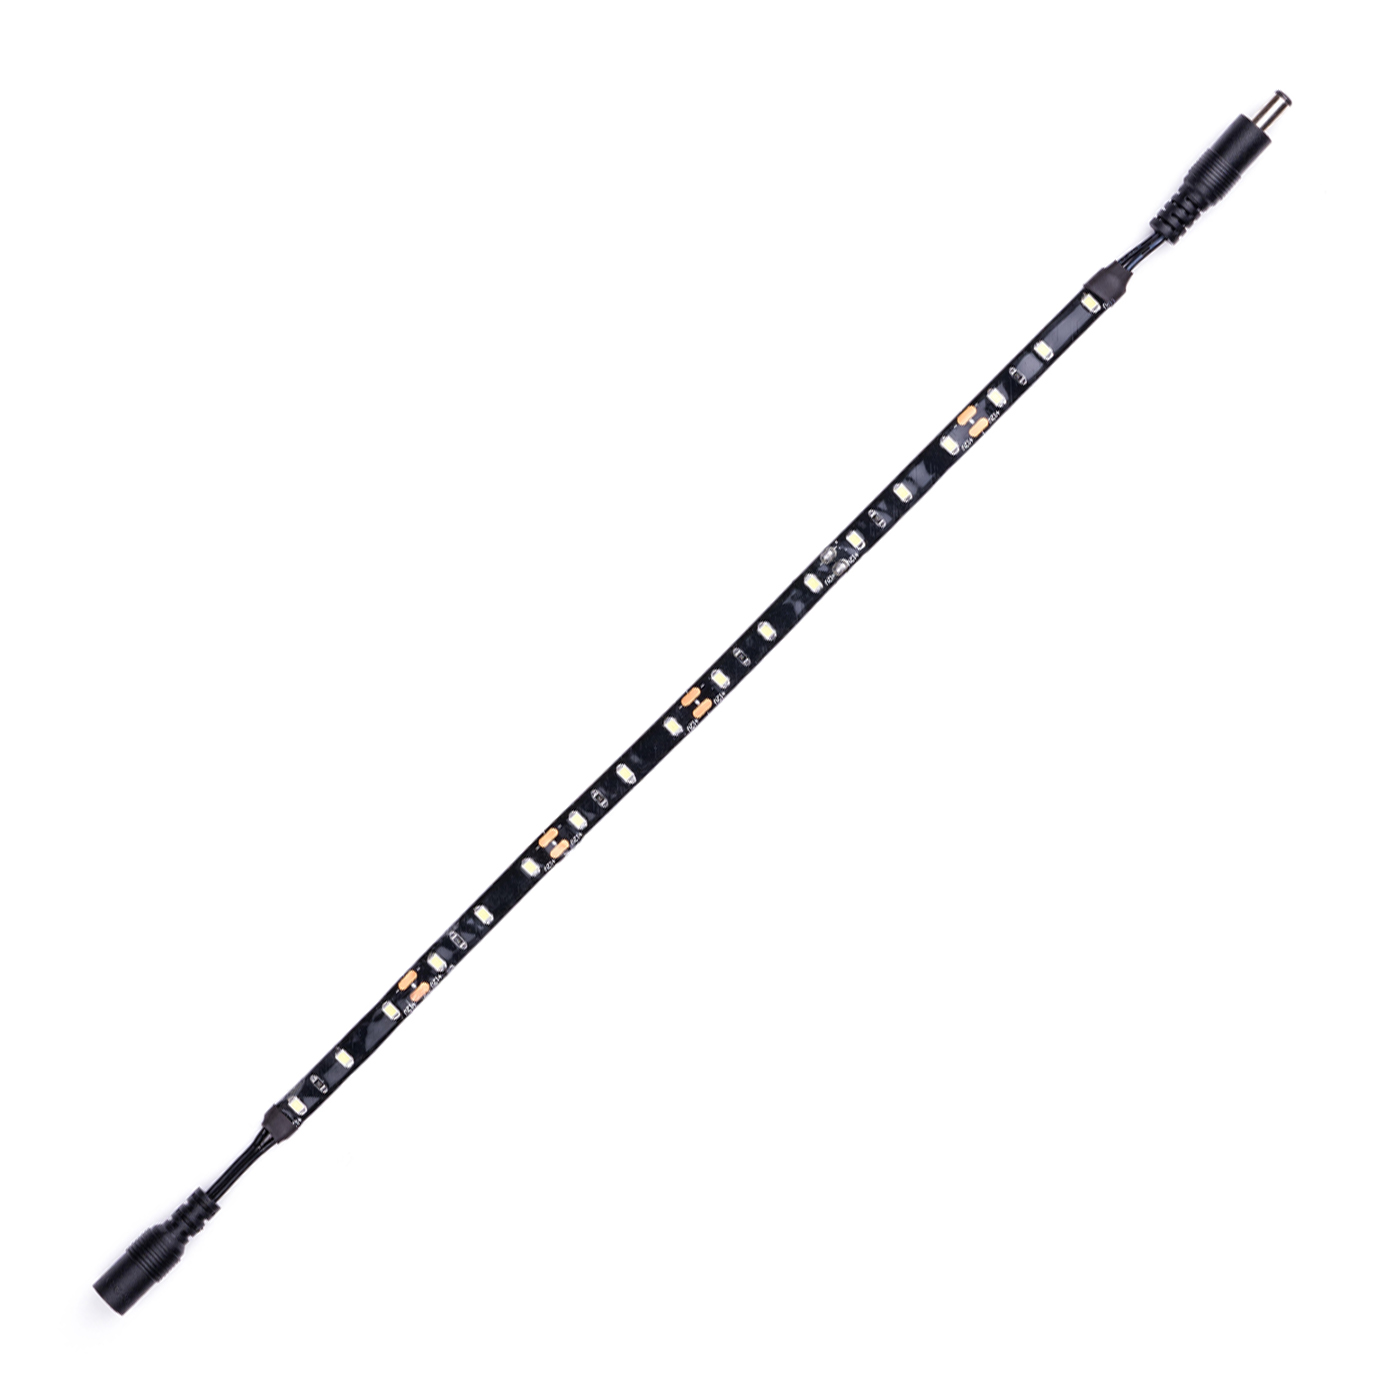
- Six (6) 12" gel coated waterproof LED strips with quick snap connectors.
- Infrared motion activated switch auto on/ auto off
- Manual on/off switch
- 12v 1A Adapter
- 1 Power Pack (Uses 8 AA batteries - not included)
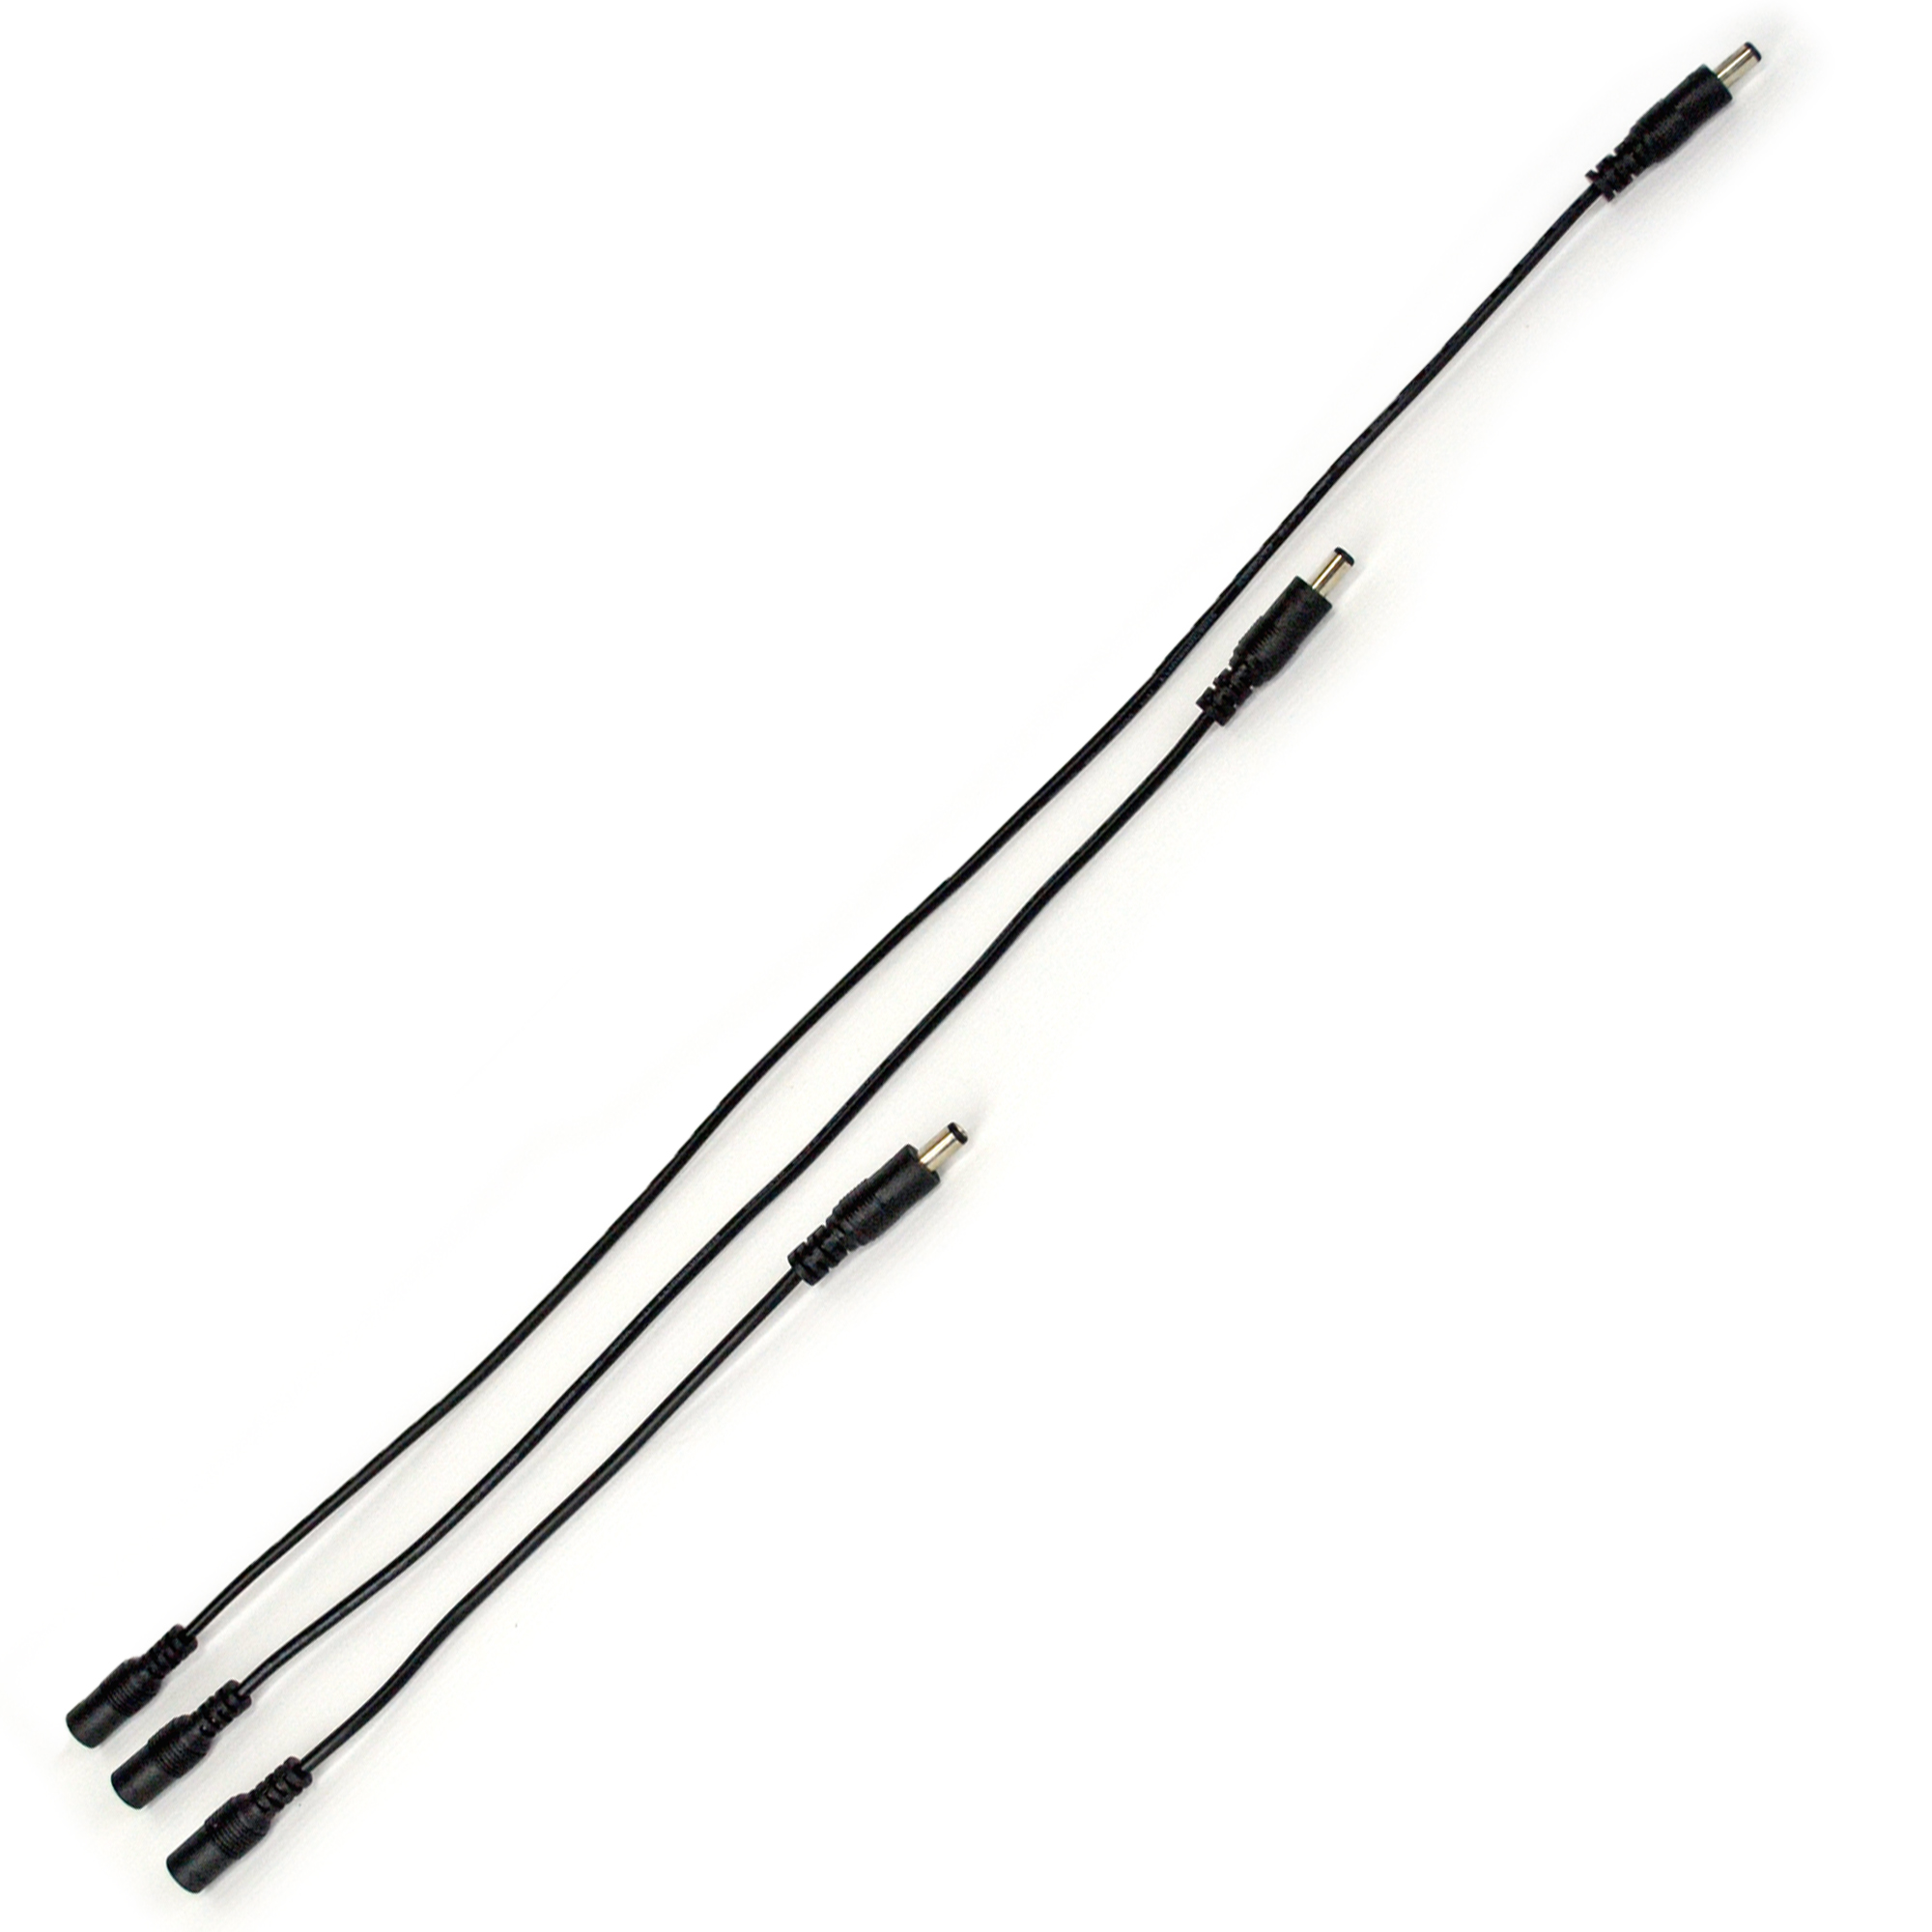
- Add Additional Light Strands and Light Kit Extensions to customize your lighting. We've connected over 20 strands together with no issues.
- Choose from 2 different types of backing:
- 3M Adhesive backing
- Hook & Look Fastener backing
- Light strip is backed with the hook portion. Loop portion is backed with 3M adhesive backing.
Add ons available!
 |
 |
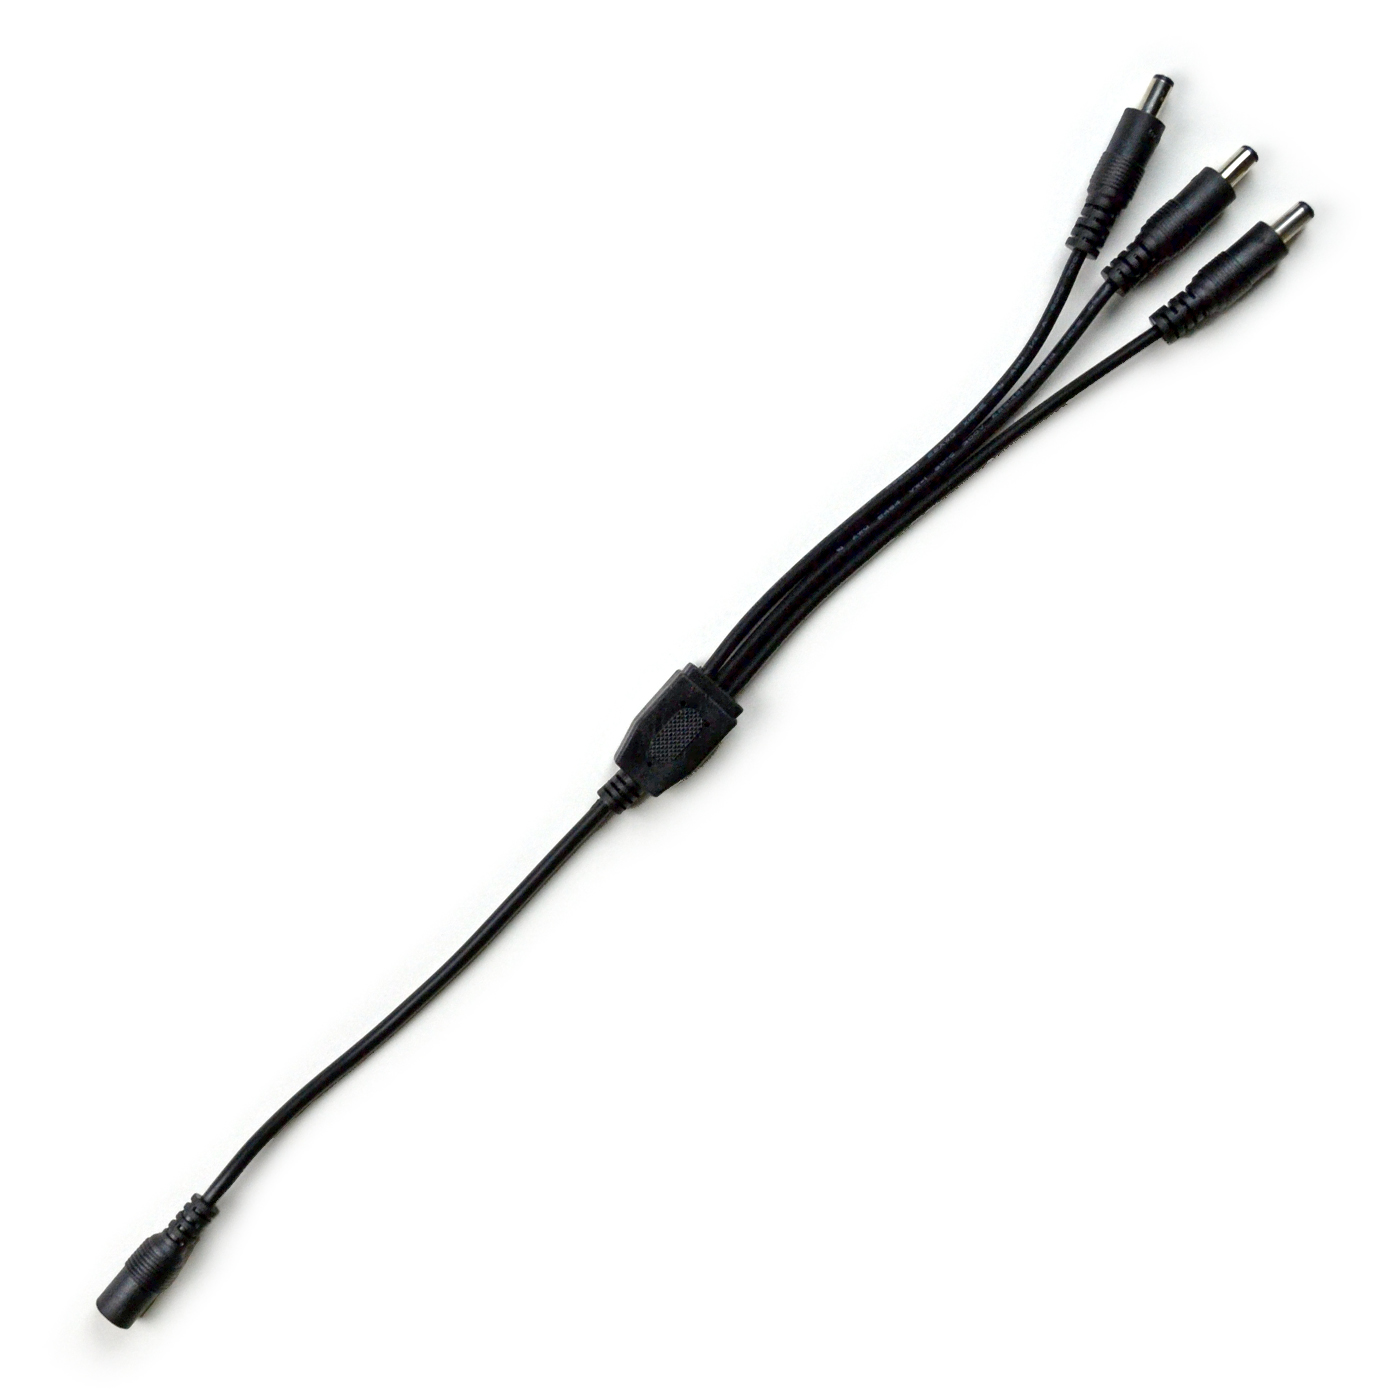 |
| Additional Light Strips | Light Kit Extensions - 3 lengths | Light Kit Splitter |
Safe Light Kit Instructions
Before you begin, take a moment to analyze the interior of your gun safe. Look to see where and how the door hinges attach to the safe and how they move. Also, look around the inner door jamb and take note of the materials that you will encounter while installing the Light Kit. Upon examination of the Light Kit contents you should find an AC adapter, a battery pack, an on/off switch, a motion sensor, and six light strands. Lay out all of the contents and connect them together in order as they are listed above. Take note that the switch and motion
sensor will only affect the lights that are connected after them. In other words, putting the switch or sensor at the end of the line of lights will have no effect. After you have everything connected decide where and how you would like everything to be positioned in the safe. Map all of the contents out on the floor as they are to be positioned inside. If there is exposed metal on the interior this may be a good spot for the light strands to be placed. If not, you will need to staple the strands to the side walls and to the roof.
Starting with the power source, work your way around the inside edge of the door all the while removing the adhesive backing or stapling the light strands in their predetermined locations. A standard staple gun is sufficient for this purpose. The best way is to straddle to lights themselves. Do not worry too much about puncturing the light strand as they are designed with the ability to be cut to varying lengths. Once the kit is installed, make sure that the lights and motion sensor are working correctly. If the motion sensor is not working as intended, you may need to reposition it so that it has more visibility. The sensor will only turn the lights on for 20 seconds or so. If it does not detect movement the lights will turn off. That is where the switch comes in. If you do not like the motion sensor, simply remove it and replace it with the manual switch.


